In this next edition of top tips from The Paving Expert, we're looking at the three layers of paving that most residential paving projects consist of.
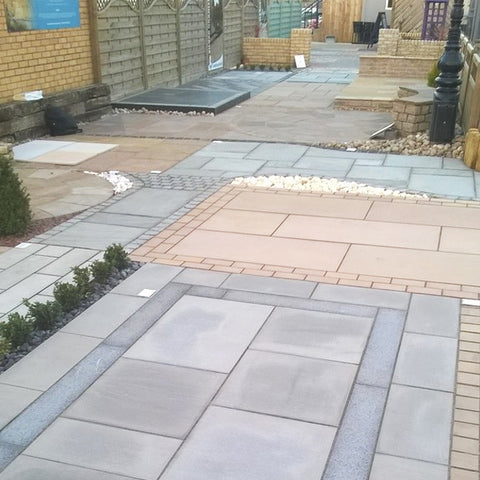
All residential paving projects will consist of at least three layers. The materials used to form each layer and the depth of the layer will change according to how the paving is being used.
Sub-base:
The lowest level is the sub-base. This is the load-bearing layer, the one that gives a patio or driveway its strength. It usually consists of a 100mm deep layer of crushed aggregate known as 'Type 1' which is thoroughly compacted using a vibrating plate compactor (or possibly a mechanical roller on larger projects).
The Type 1 aggregate is spread out and levelled using shovels and rakes to achieve an even grade, with enough of a slope to ensure the paving will drain when laid. The aim is to create a solid, reliable platform, which will have a uniform depth of bedding placed over it, so to check levels as work progresses to ensure the bed will be consistently 25-40mm in depth.
Driveways often use 150mm depth for the sub-base, and it may be laid over a geo-textile to keep it separate from the ground beneath. Some driveways, especially those carrying larger cars, 4x4s and the like, or built using setts or cubes, might replace the Type 1 with a lean mix concrete for even greater strength.
Bedding:
Above the sub-base comes the laying course, more commonly known as the bedding. For more projects, this will be a sand/cement mortar, but there are a small number of circumstances where a sand-only or grit bed could be used. Mortar used for bedding paving is typically mixed using 6 parts of a sharp sand with 1 part cement. It can be mixed to different degrees of 'wetness' but for most projects, a 'moist mix' is the best choice. This means adding just enough water (and plasticiser to make it pliable) to bind together the sand and cement without it being sloppy.
The mortar is spread out using a trowel, covering the sub-base and ensuring that it will provide a full bed for the eventual paving. This means no gaps, no voids, no hollows, no 'spots' or 'dabs' of mortar but a full and even bed, which will provide full and uniform support to the paving. The top of the mortar is usually lightly rippled to ensure there is some 'give' when the flag is placed in position.

Paving:
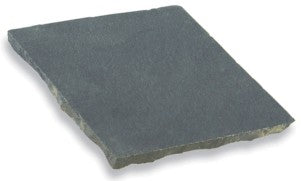
The final layer is the paving itself, which might be flags, setts, cubes, kerbs or cobbles. These are pressed down onto the bed mortar, and then tapped down to the required level using a rubber hammer, and then checked with a spirit level. When a porous type of stone is being laid, the paving units can usually be laid directly onto the bedding, but when the paving is less porous, the underside should be painted with a bond bridge of liquid SBR or SBR-with-cement.

Right Way Up:
Make sure the paving is laid the correct way up. It can be easy to think that flags or setts can be laid either way up but this isn't correct. Each piece has been selected to have a definite 'face' and a 'base'. The base is nearly always smaller than the face so the edges of the flag or sett typically taper inwards towards the base. You should also be able to spot that that arises, the edges of the upper face, are much more neatly trimmed than those of the base.
Stay tuned for our next edition of tips from The Paving Expert!
- The Landscape World team.